
How many of us have made a pillowcase for the Million Pillowcase Challenge? Or made one to accompany a quilt for Quilts of Valor? There are tutorials everywhere, and I am adding mine to the mix. Google "pillowcase tutorial" and you'll get over 600,000 results. Those are just tutorials. And then there are all the blogs that have been done about making these. I've seen people fancy theirs up with prairie points, crocheted edges, lace, piping, ric rac, bows, but I am going to keep it manageable and durable because these are for my toddler grandson. Making them is so easy and fun, it may be addicting.
 To start off, you'll need fabric for the body, the trim and the border (cuff.) You must have the full width of fabric and you'll need that for all 3 pieces. For the main body of our pillowcase, you want 26 1/2" by the width of the fabric for a twin/queen sized pillow. Trim to make it squared up. I had bought this colorful alien print with the idea of making a crib sheet, but never got around to it. And because I bought that much in one length of yardage, there is plenty enough to make a set of two!
Looking in my stash, I found the black with tiny lime green specks print - just enough for 2 trim pieces! and the lime green with bright green triangles print for the border (or cuff, or whatever you want to call it.) Once you have made your decision, it is all downhill from there.
 Cut the trim piece 3" wide x WOF, then press with wrong sides together so that you have a long, 1 1/2" wide strip. Set aside.
Cut the cuff fabric 10" wide x WOF. Now you should have all three fabrics cut and ready to sew!
Lay your cuff fabric face up on your work surface. Next will be the fabric for the main pillowcase, also face up, aligning the top and side edges with the cuff piece. On top of both of those you'll line up the trim piece, folded edge away from the top. You can pin a bit here to keep them lined up.
 Here's the fun part. Roll up the main body fabric so that you can see the cuff fabric below and above it. Bring the cuff fabric up over the roll and pin to that you have a roll that sandwiches the main part of the pillowcase inside it like a burrito. You want your roll to be small enough to not get caught in the seam. Stitch a 1/2" seam along the pinned edge. Backstitch the start and end for stability.
Now reach inside the tube and gently pull the body of the pillowcase out.
 Now you are ready to make your French seam! Go ahead and even up the sides trimming off the selvages to get to a 42" width and give it a quick press. Fold the case in half, matching up the trim and cuff top. Make sure that the fold of the trim piece is not pointing toward the top, but toward the bottom, on both ends. Pin the sides together all the way down and along the bottom. You will sew a 1/4" seam, pivoting at the bottom corner for a continuous seam. When you are done, trim off the point on the corner so there is less bulk inside the seam.
  Trim up any fraying threads, then turn your pillowcase inside out. Wrong sides together. Push the corners out so they have a nice crisp point and press. You can spray starch too if you like. It is not a bad idea to put a few pins in the keep the top edge and the trim even at this point too. Now you'll make a 3/8" to 1/2" seam all the way down and around again, pivoting at the corner.
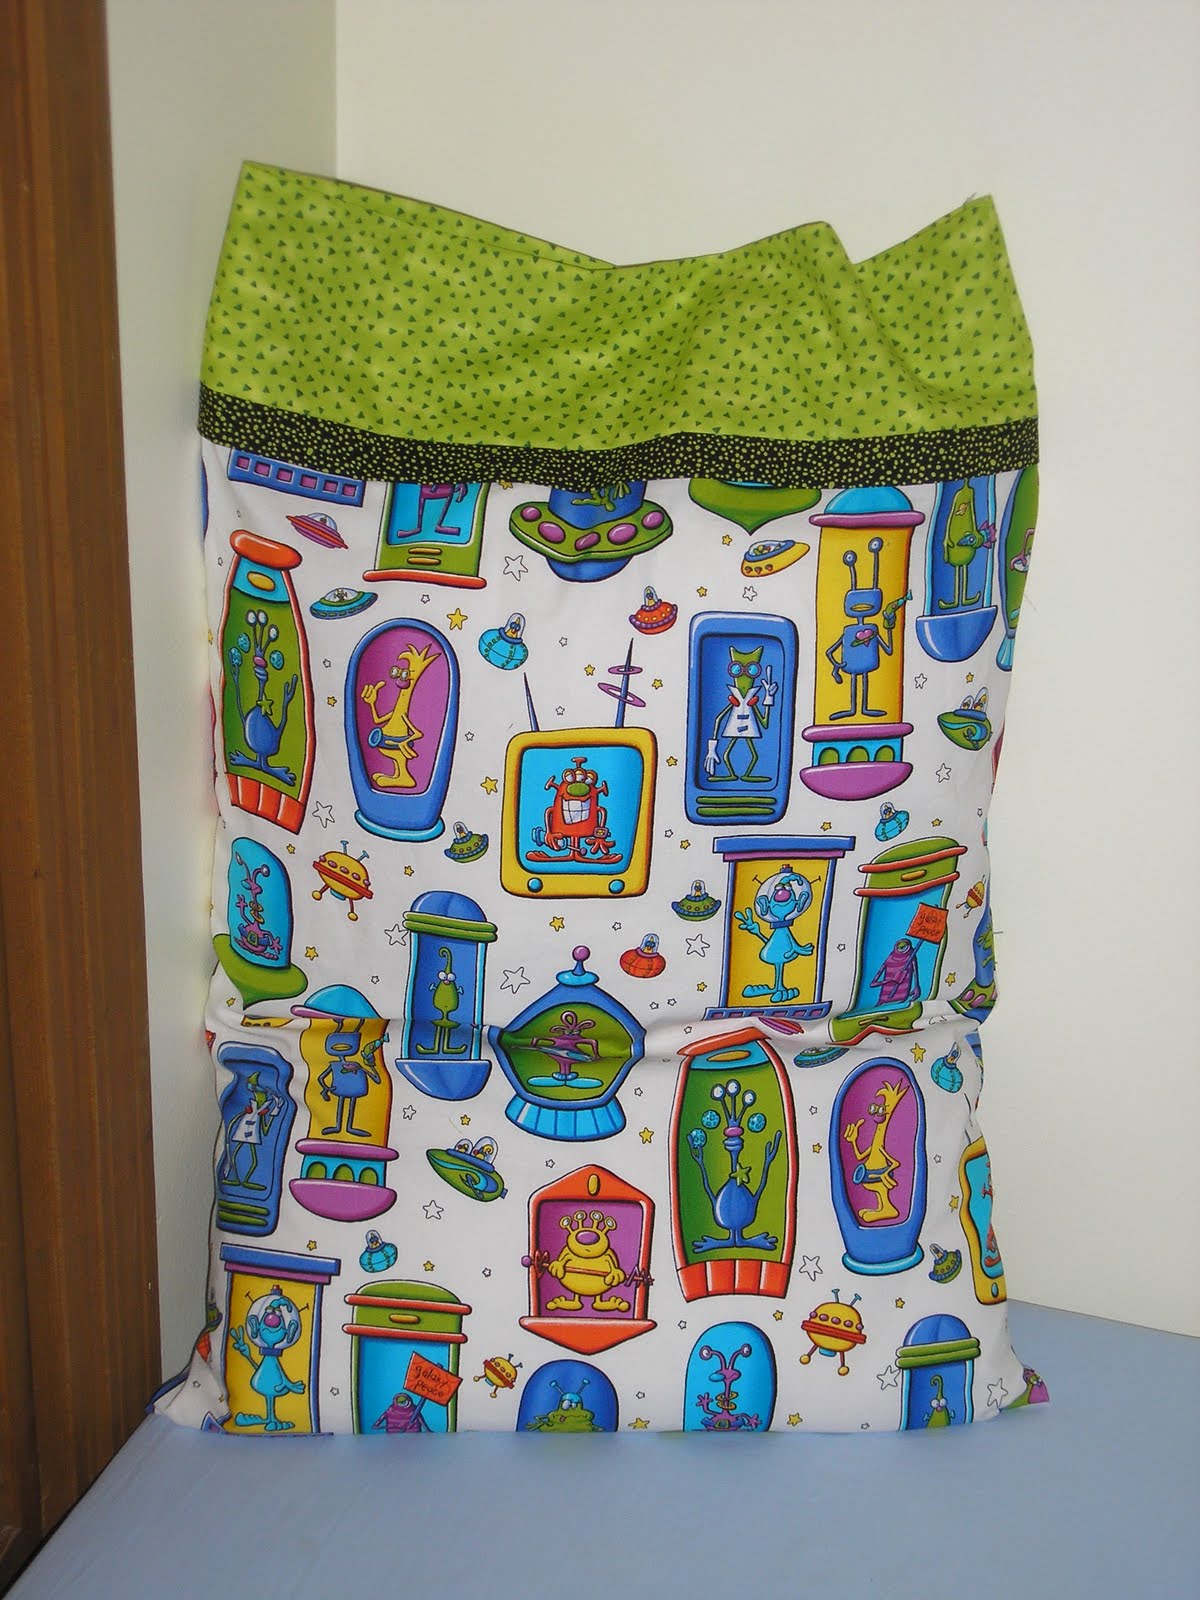 And VOILA! A beautiful pillowcase with all the seams locked inside!
Repeat the steps as needed so that every bed in your house has fun, colorful pillows waiting for sleepyheads!
1 comment:
Cute pillowcase!
I call this way the "burrito" pillowcase... :D
Post a Comment